
To install Ubuntu 19.04 OS follow steps below:
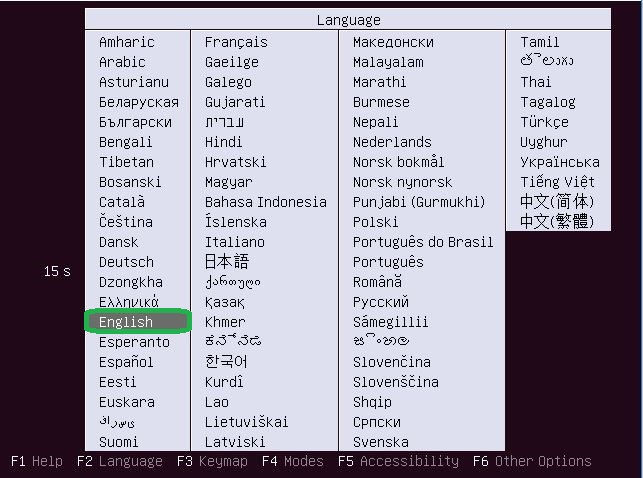
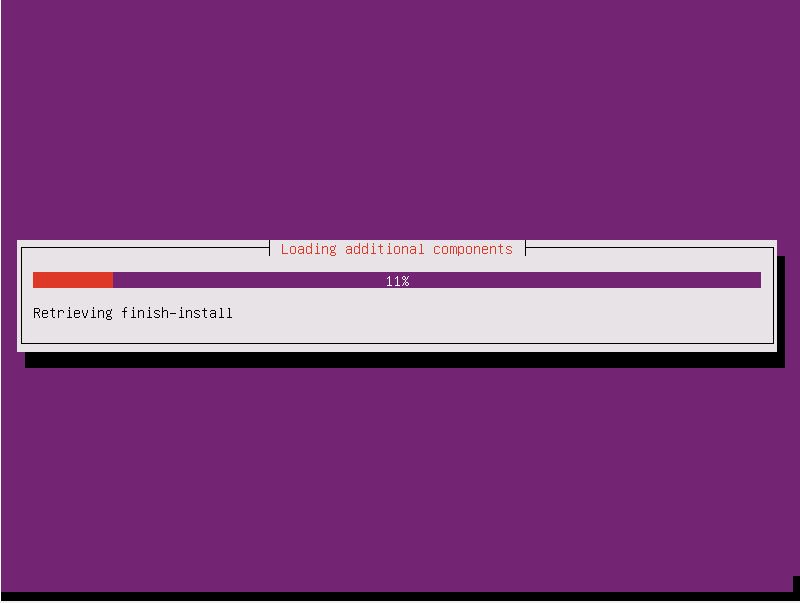
- Insert Ubuntu 19.04 installation disk and reboot your computer and then choose the language:
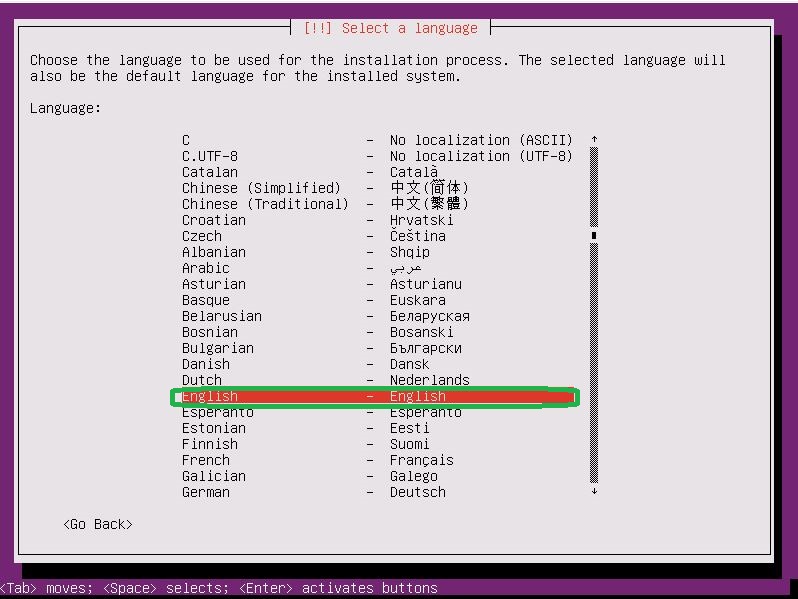
- Choose the language to be used for the installation process
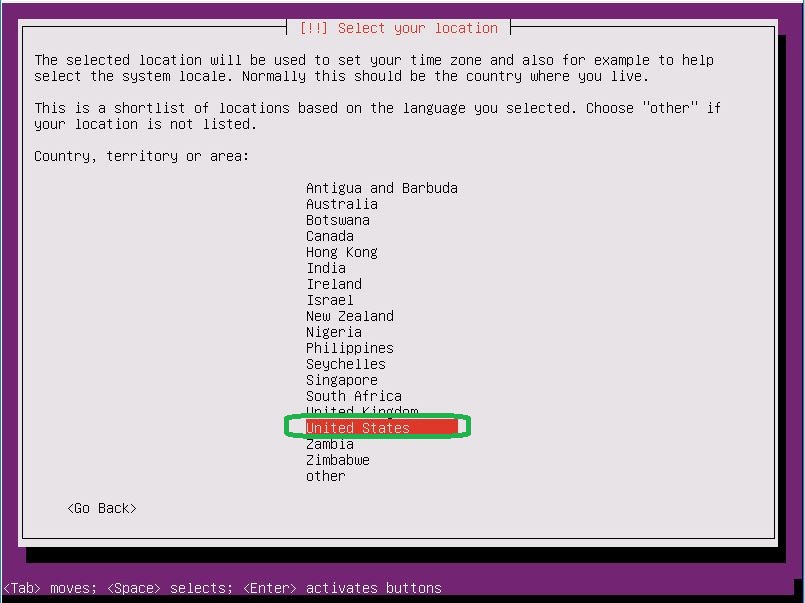
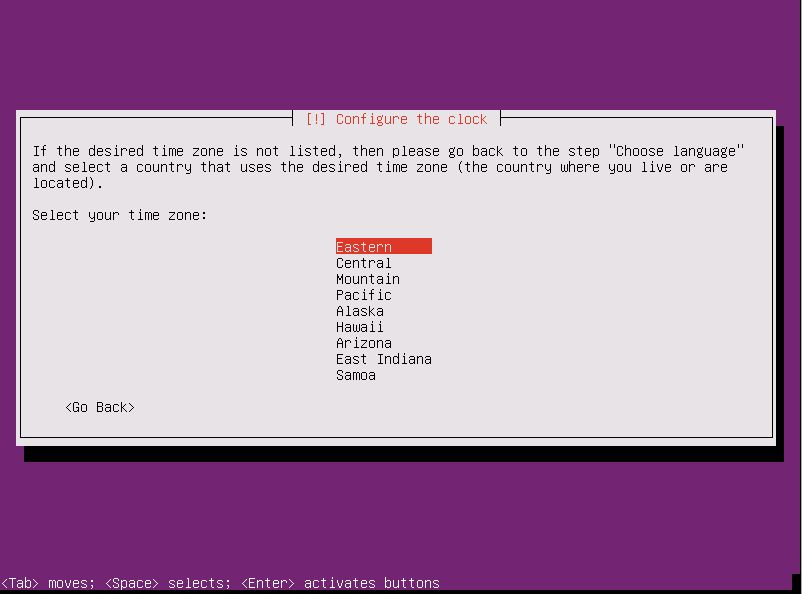
- Select your country for System Time Zone setting
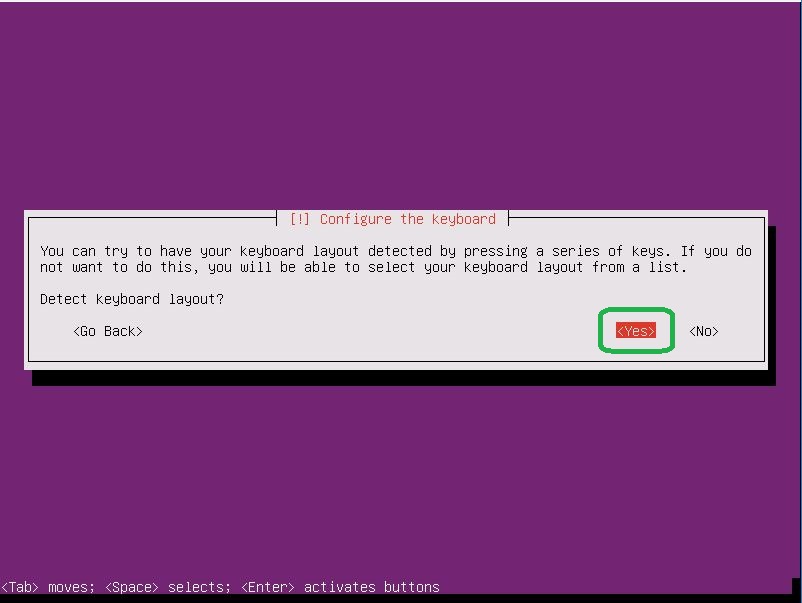
- Configure the keyboard layout. Select Yes to detect your keyboard automatically and No to set manually.
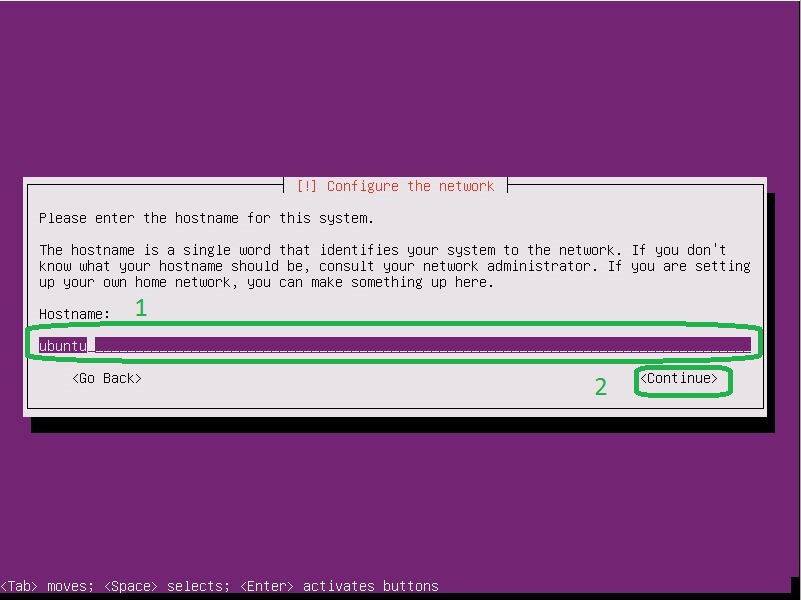
- Set your server’s hostname you would like to.
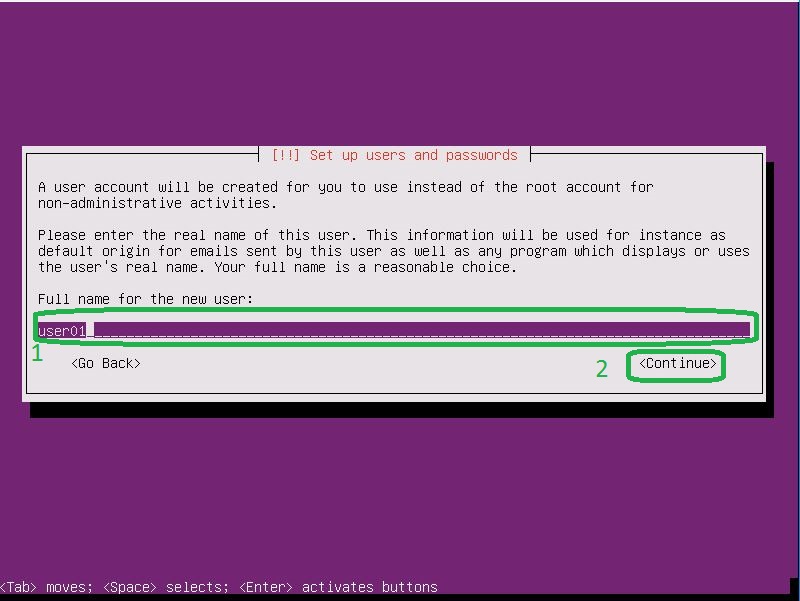
- Specify a user. The user will be an admin user by default and You can not enter the root user.
- Enter a username that will be used on the Ubuntu System.
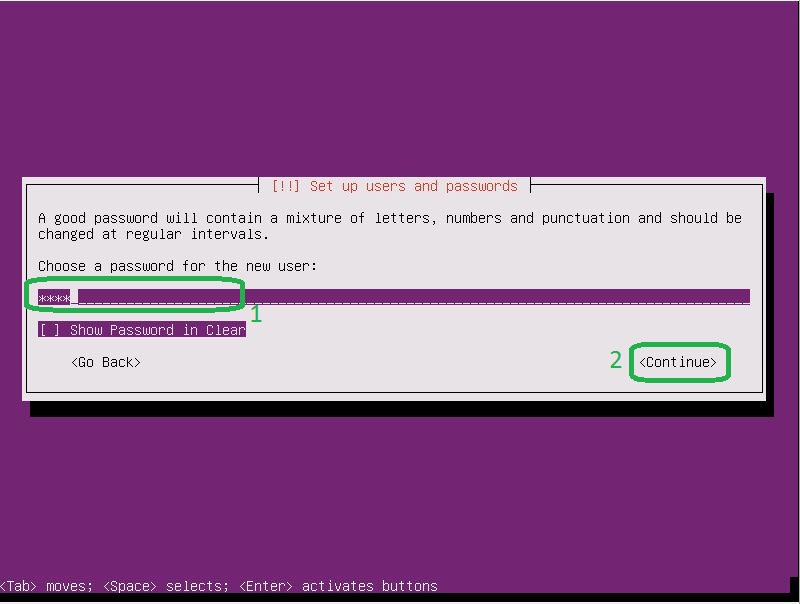
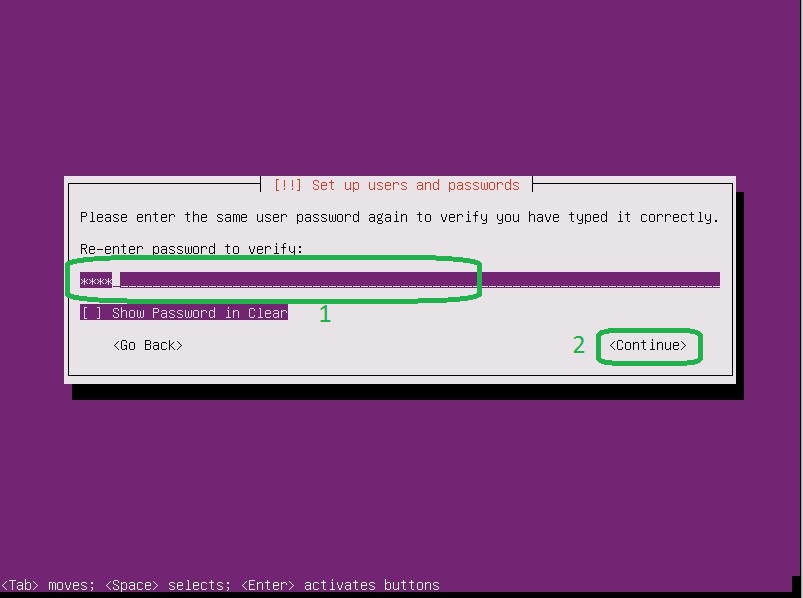
- Set the user password and repeat that.
- Select the TimeZone.
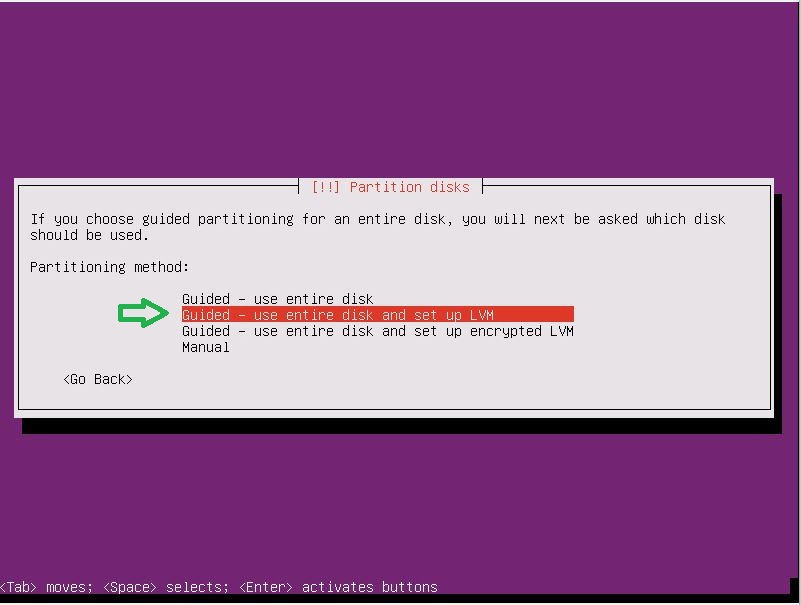
- Here for configuring partitions. Select “Guided – use entire disk and set up LVM”
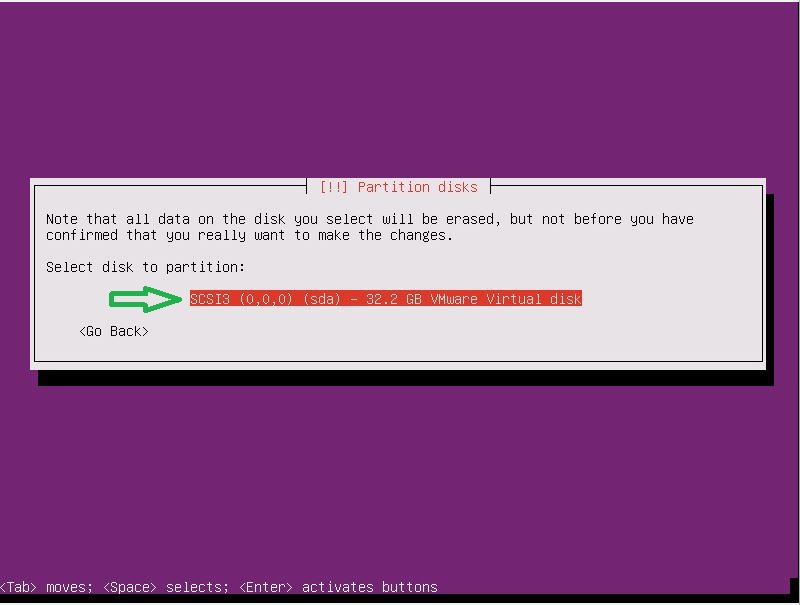
- Select the disk partitions.
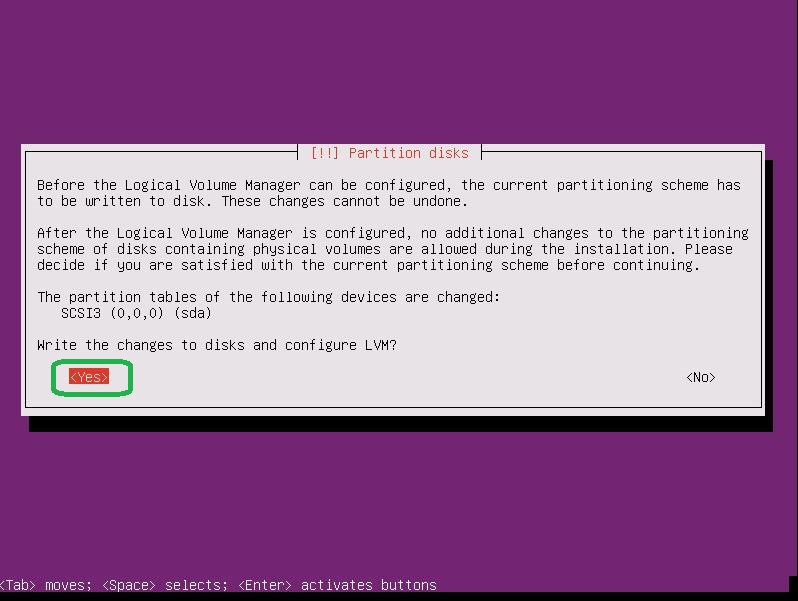
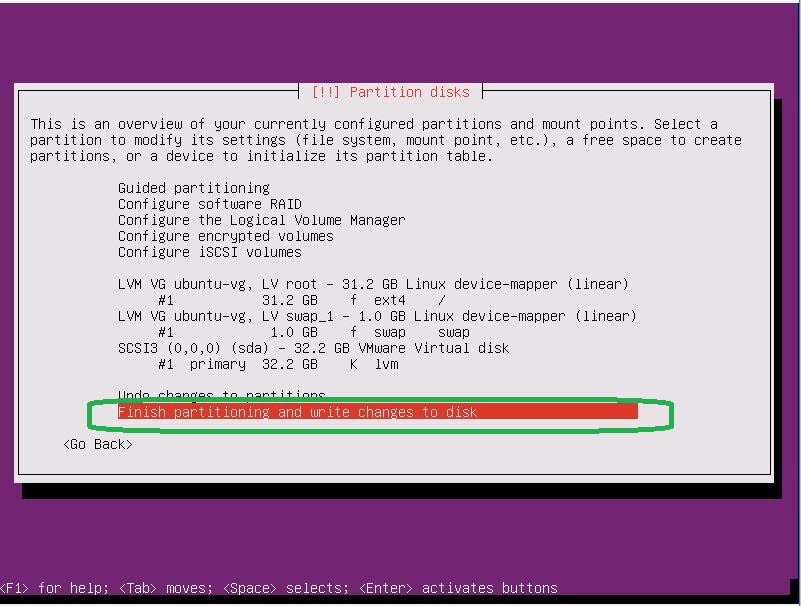
- Choose the answer “Yes” to write the changes in the disk and configure LVM.
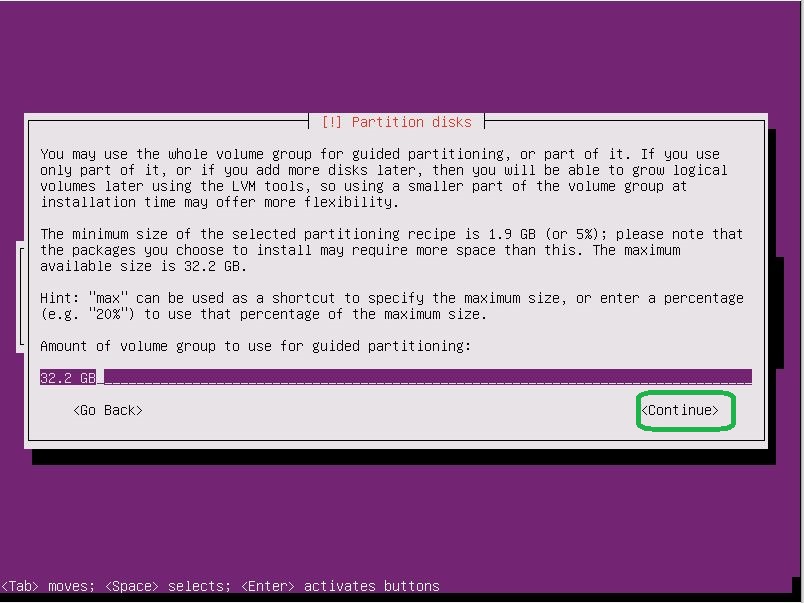
- Enter the disk size.
- Answer “Yes” to finish the process.
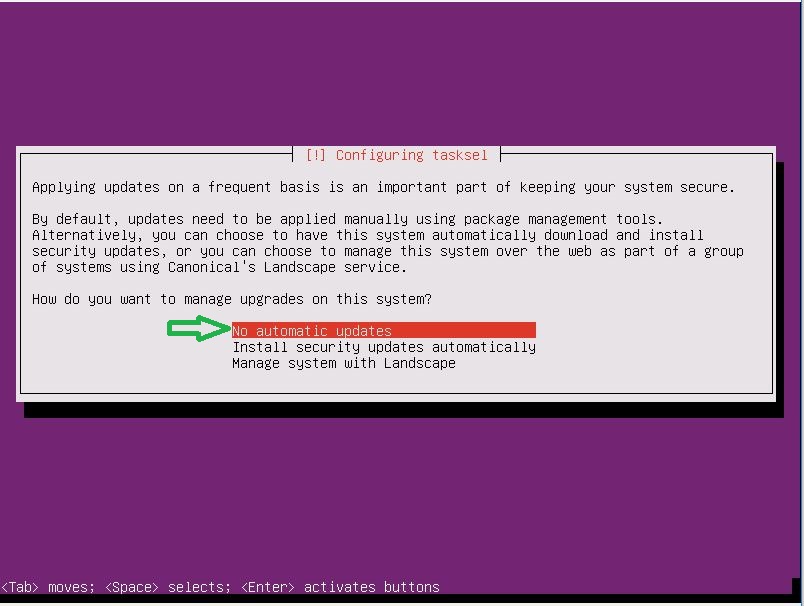
- Automatical update sometimes causes troubles, so better to update manually. So I will set “No automatic updates”.
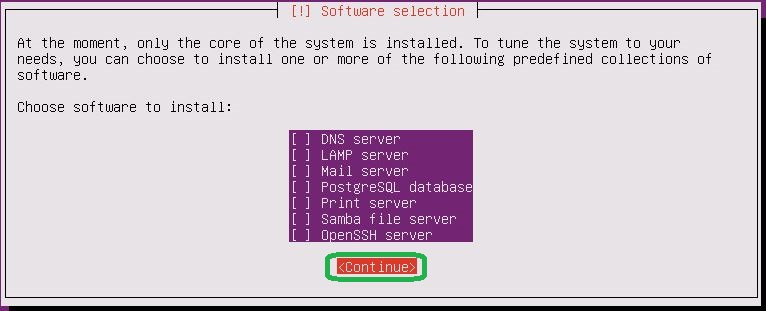
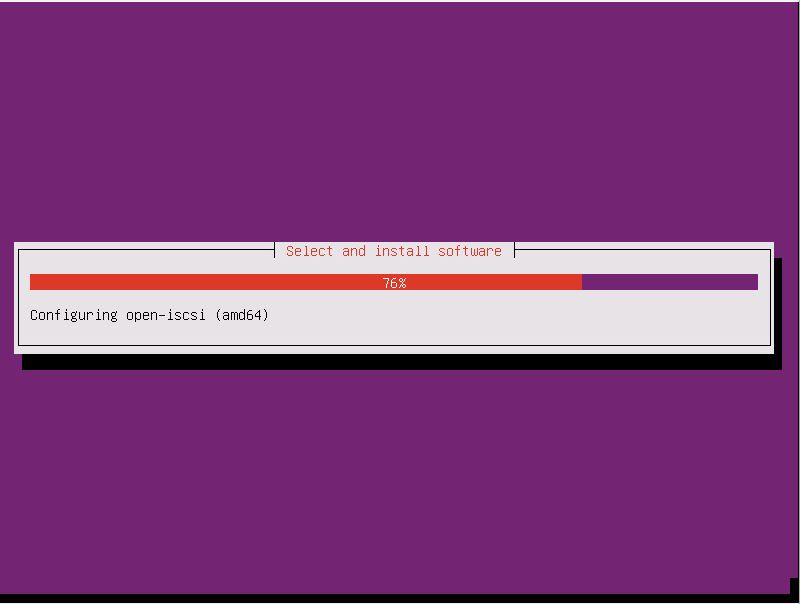
- In this section select the software if you want to install it.
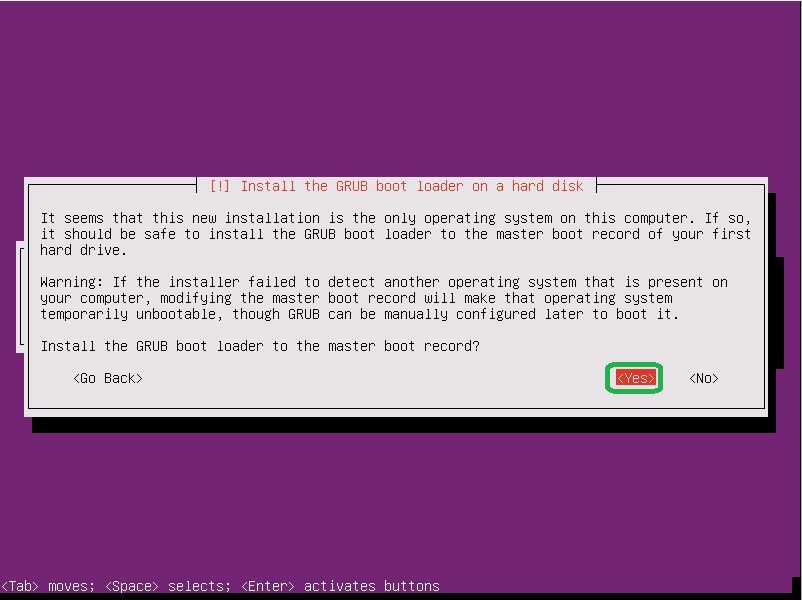
- To install GRUB Boot Loader on MBR select Yes.
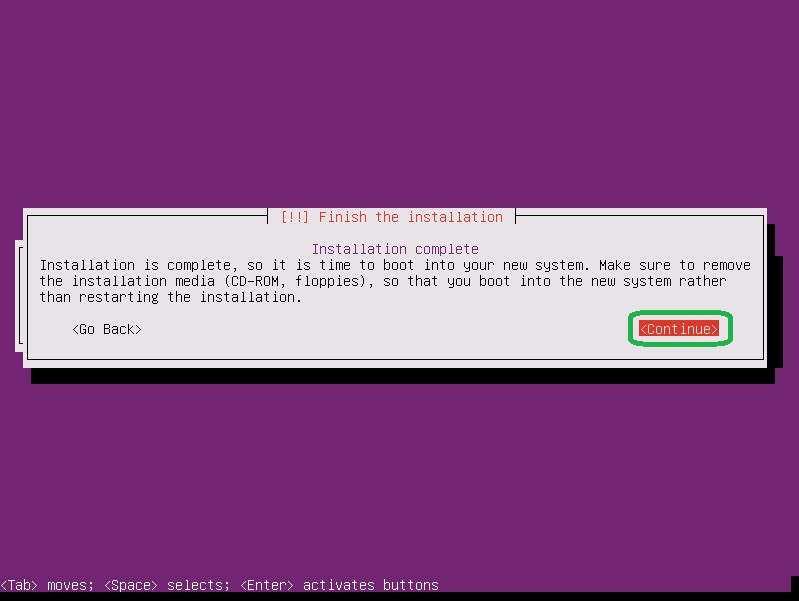
- To completed installation click to “Continue”.
- The system will reboot and take out the installation disk.
- After Ubuntu restarted, log in with a user you set during the installation on “Step 7”.
You can follow the slides below to see all these steps:


Basic commands: Update server, Service control an etc.
After installing the operating system we need to update the server. To do that follow commands below:
root@thehackertips:~# apt update
root@thehackertips:~# apt upgrade
To list the running service on Ubuntu 19.04 run the commands below:
root@thehackertips:~# systemctl -t service
To start, restart, stop or show status the services using these commands:
root@thehackertips:~# systemctl start firewalld
root@thehackertips:~# systemctl restart  firewalld
root@thehackertips:~# systemctl stop  firewalld
root@thehackertips:~# systemctl status firewalld
Add a new user and set the password
To create new user and set the password on Ubuntu 19.04 follow commands below:
root@thehackertips:~# adduser ubuntuuser
Adding user `ubuntuuser' ...
Adding new group `ubuntuuser' (1001) ...
Adding new user `ubuntuuser' (1001) with group `ubuntuuser' ...
Creating home directory `/home/ubuntuuser' ...
Copying files from `/etc/skel' ...
New password:
Retype new password:
passwd: password updated successfully
Changing the user information for ubuntuuser
Enter the new value, or press ENTER for the default
        Full Name []: ubuntuuser
        Room Number []: 1
        Work Phone []: 1
        Home Phone []: 1
        Other []: 1
Is the information correct? [Y/n] Y
root@thehackertips:~#
You can switch root to ubuntuuser or ubuntuuser to a root. To do that follow commands below:
root@thehackertips:~# su - ubuntuuser
ubuntuuser@thehackertips:~$ su -
Password: # your root password
root@thehackertips:~#
Reset root/user Password
To reset password on Ubuntu 19.04 you need to use commands below:
root@thehackertips:~# sudo passwd root
New password:
Retype new password:
passwd: password updated successfully
root@thehackertips:~# sudo passwd ubuntuuser      # ubuntuuser is a simple user
New password:
Retype new password:
passwd: password updated successfully
root@thehackertips:~#
Set Hostname
To change hostname on Ubuntu 19.04 You can use these methods:
- Option 1: Edit hostname file with sudo vi /etc/hostname
- Option 2: hostnamectl set-hostname thehackertips.com # set hostname permanently
- Option 3: hostname thehackertips.com # this will gone after rebooting
To look status of hostname using this command:
 root@thehackertips:~# hostnamectl
    Static hostname: thehackertips.com
          Icon name: computer-vm
            Chassis: vm
         Machine ID: 8974aa87c0b349f2878938cabdf2269d
            Boot ID: ea59633ee9844c1f900a29ac3260fe71
     Virtualization: vmware
   Operating System: Ubuntu 19.04
             Kernel: Linux 5.0.0-13-generic
       Architecture: x86-64
 root@thehackertips:~#
Configure Network Settings
One of the best way to set static IP address to server is to edit /etc/netplan/01-netcfg.yaml file.
root@thehackertips:~# vi /etc/netplan/01-netcfg.yaml
# This file describes the network interfaces available on your system
# For more information, see netplan(5).
network:
  version: 2
  renderer: networkd
  ethernets:
          ens32:
                 dhcp4: no
                 addresses: [172.16.171.224/24]
                 gateway4: 172.16.171.1
                 nameservers:
                         addresses: [8.8.8.8]
                 dhcp6: no
It may be different adapter name [ens32] on your system. You can check that by ip addr command. To see status of IP address command will be as follow:
root@thehackertips:~# ip add
 1: lo:  mtu 65536 qdisc noqueue state UNKNOWN group default qlen 1000
     link/loopback 00:00:00:00:00:00 brd 00:00:00:00:00:00
     inet 127.0.0.1/8 scope host lo
        valid_lft forever preferred_lft forever
     inet6 ::1/128 scope host
        valid_lft forever preferred_lft forever
 2: ens32:  mtu 1500 qdisc fq_codel state UP group default qlen 1000
     link/ether 00:0c:29:d4:7b:be brd ff:ff:ff:ff:ff:ff
     inet 172.16.171.224/24 brd 172.16.171.255 scope global ens32
        valid_lft forever preferred_lft forever
     inet6 fe80::20c:29ff:fed4:7bbe/64 scope link
        valid_lft forever preferred_lft forever
 root@thehackertips:~#