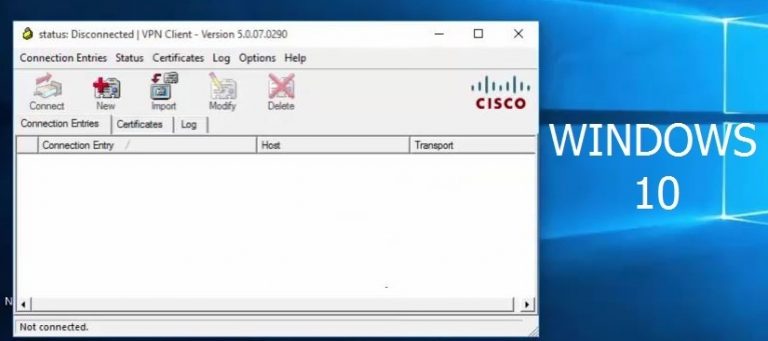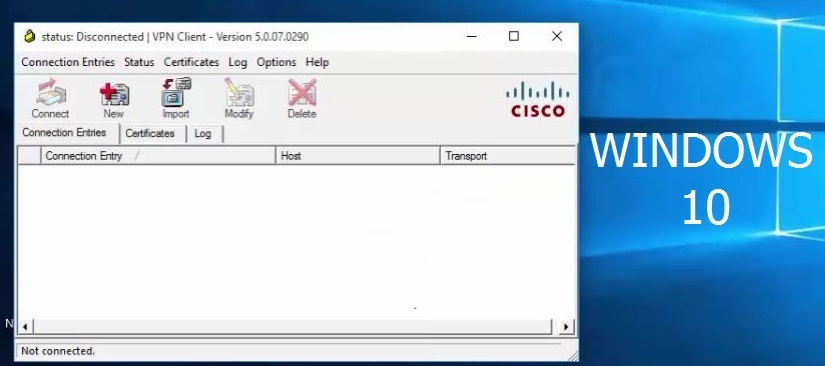
To install Cisco VPN Client on Windows 10 a little bit different. Today we will look at that.

Please follow steps below :
Download Cisco VPN Client software from this link and install 32-bit or 64-bit the Cisco VPN Client software. I would recommend that you run the vpnclient_setup.MSI file.
Then we need to make some changes on registry:
- Open Registry editor regedit in command prompt
- Navigate to the Registry Key HKEY_LOCAL_MACHINE\SYSTEM\CurrentControlSet\Services\CVirtA
- Select the Display Name to modify, and remove the leading characters from the value data value as shown below:
For x86 machine,  the string “@oem8.inf,%CVirtA_Desc%;Cisco Systems VPN Adapter” to just “Cisco Systems VPN Adapter”
For x64 machine, the string ”@oem8.inf,%CVirtA_Desc%;Cisco Systems VPN Adapter for 64-bit Windows” to just “ Cisco Systems VPN Adapter for 64-bit Windows”
Reboot your computer and your cisco vpn client will be run successfully
I hope, this article was valuable for you. You can look at our other articles and follow us.